 Skip to main content
10 Quick Tips on Guiding
It’s common to see guiding stated as one of the things that can make the biggest improvement to your images, but there can be a number of considerations that come with it. Here are ten quick tips to help you get the most of your guiding setup and avoid some of the most common tracking errors.
1. Polar align
Accurate polar alignment is an essential part of guiding. Automated methods such as PoleAlignMax make this a simple job or we recommend the declination drift method. Initially it can take a little time to get right, but the results are more than worth it.
2. Don’t overload your mount
The maximum carrying weight of your mount may sound like a target, but the lighter the load on your mount, the easier and more accurate your guiding will be. A good tip is to aim for half of the maximum stated capacity.
3. Check your connections
Over or under tightened connections, both mechanical and cable, can lead to movement within your optical train. Tighten and secure things to a point where you know they’ll remain stable, and leave it there. Alternatively, use an off-axis guider to remove the possibility of flexure between your main and your guide scope.
4. Watch out for vibrations
What feels like a slight breeze to you can feel like a gale force wind to your equipment, so it’s best to keep things as sheltered as possible. Also try to avoid walking around your setup whilst imaging as ground vibrations can be just as disruptive as those in the air.
5. Brightest isn’t always best
It can be tempting to pick the brightest star in your field of view to guide on, but stars close to saturation can be difficult to track and may also be prone to problems with atmospheric seeing. Stars between 5-10 magnitude are generally a good point to aim for. Try reducing your guiding exposure time if necessary.
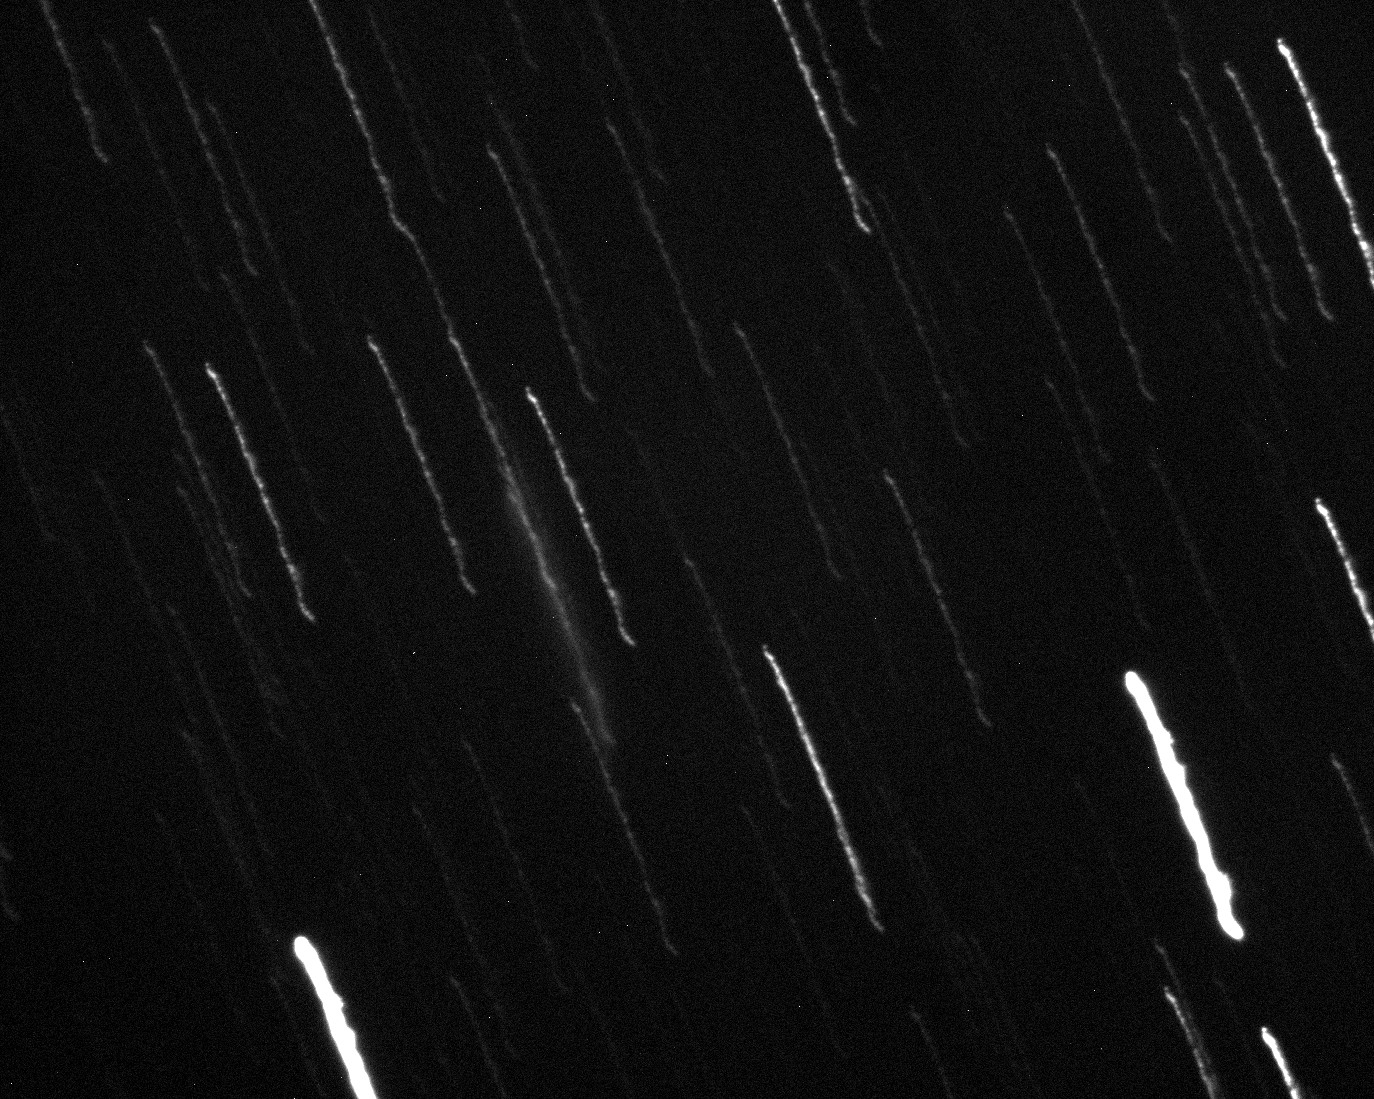
Sharp diffraction spikes are often indicative of a well-guided image
6. Don’t be afraid to defocus
Although a certain level of accuracy when focusing your guidestar will make things easier, it’s not as essential as your main imaging target. In fact, using a slightly soft focus can actually improve guiding, particularly if your guide program will calculate sub pixel errors.
7. Don’t overcompensate
If your guide software will produce a tracing error graph, do check it. If it’s oscillating over the zero point with a frequency of one or two guide exposures, then you’re overcompensating. Turn down the aggression or feedback value until errors are reduced to zero without overshooting.
8. Try guiding in just one axis
If your polar alignment is good and your sub exposures are short, try turning off guiding in the Dec axis, you may be pleasantly surprised to find single axis guiding works well.
9. Balance your mount – but not too well
Mounts need to be balanced, but leaving it slightly unbalanced can be an advantage as this will reduce backlash between worm and wheel. Offset the weight to the east to take up the free play.
10. Don’t be afraid to take shorter exposures
A stack of five 10 minute exposures will not be much deeper than 10 five minute exposures, and you may find it easier to achieve round stars in shorter subs.
Do you know some top guiding tips missing from our list? Share them in the comments below.